
Best Camping Tent for Beginners Buying Guide
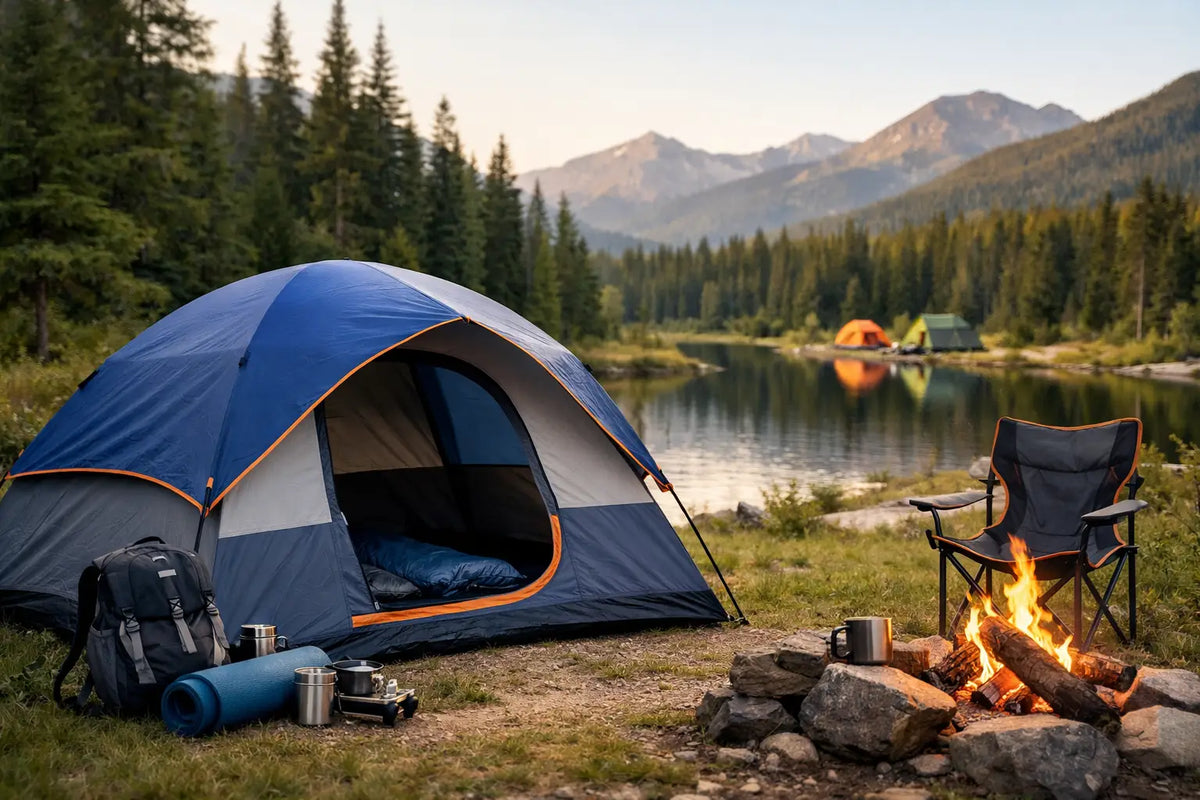
A first tent should make a weekend outside feel manageable, not turn arrival at the campsite into a puzzle. The best camping tent for beginners is usually not the smallest, cheapest, or most technical option. It is the one that fits your group, goes up without frustration, stays comfortable through a changing forecast, and packs down without taking over the car.
For most first-time campers, a freestanding dome tent with a rainfly, simple pole system, and room to move is the practical starting point. It handles established campgrounds well, gives you a reliable sleep space, and leaves more attention for the parts of the trip that should be fun: cooking dinner, sitting by the fire, and waking up ready to explore.
Start With the Right Tent Capacity
Tent capacity labels describe how many sleeping pads can fit side by side, not how roomy the tent will feel. A two-person tent can work for one person and a small amount of gear. For two adults, it can be a close fit, especially if weather forces you to keep bags, shoes, and extra layers inside.
A useful beginner rule is to size up by one person. Choose a three-person tent for two campers, or a four-person tent for a small family of three. The added floor area gives people room to change clothes, keeps sleeping bags from pressing against tent walls, and makes an early bedtime or rainy afternoon much more comfortable.
Larger is not automatically better. A six- or eight-person tent may be appealing for space, but it needs a bigger, flatter campsite and can take longer to pitch. If only one or two people will camp most often, a three- or four-person model is usually the better balance of comfort, packability, and setup time.
Check floor dimensions, not just the label
Before buying, compare the tent's listed length and width with the sleeping pads you plan to use. Adults over six feet tall should pay particular attention to interior length. If the walls angle sharply inward, usable space may be shorter than the floor measurement suggests.
Also consider peak height. A tent that lets most campers sit upright makes changing clothes and organizing gear far easier. Standing height is valuable for car camping, but it often comes with a larger packed size and more wind exposure.
Choose a Beginner-Friendly Tent Design
Freestanding dome tents are the easiest choice for most campground trips. Their poles cross to create a stable shape, and the tent can usually be lifted and repositioned before staking it down. That flexibility matters when you discover a root, slope, or small rock beneath the floor.
Cabin-style tents offer straighter walls and more interior headroom, which can be excellent for families and longer stays. They are generally heavier and need more careful staking in wind. They make sense when comfort at a drive-up campsite matters more than carrying the tent any distance.
Backpacking tents are lighter and smaller, but they can be less forgiving for new campers. Their compact dimensions, lower ceilings, and more specialized setup are worthwhile when every pound counts on the trail. For a first camping purchase centered on state parks, family campgrounds, or weekend road trips, do not pay for ultralight performance you will not use.
Instant tents reduce setup time with poles that are pre-attached or integrated into the frame. They are convenient, especially after dark or when managing kids, but check their packed length. Some fit well in a vehicle but are awkward to store in an apartment or carry beyond the parking area.
Weather Protection Matters More Than a Big Door
A tent does not need to withstand an expedition in severe conditions to be a good first purchase. It does need to handle a normal overnight rain, morning condensation, and an occasional gust without making everyone miserable.
Look for a full-coverage rainfly that extends over the tent body instead of a small cap that only covers the roof. A fuller fly provides better protection at the walls and doors, where wind-driven rain can find weak spots. A covered entry or vestibule is also useful for leaving muddy shoes and damp gear outside the sleeping area.
A bathtub-style floor, where the waterproof material rises several inches up the sidewalls, is another practical feature. It helps protect against wet ground and small pools of water. Seam-sealed construction is valuable, but it is still smart to test a new tent at home or on a dry weekend before trusting it during a heavy storm.
Ventilation deserves equal attention. Mesh panels and high vents allow humid air to leave the tent, reducing the condensation that can make gear feel damp even when it never rains. On cool nights, keep some ventilation open unless conditions are truly extreme. A closed-up tent traps breath and moisture quickly.
No tent is designed to sit in a low spot that collects runoff. Choose a level campsite with natural drainage, clear away sticks and sharp debris, and avoid pitching directly beneath dead branches. Site selection does as much for a dry night as the tent itself.
Setup Should Be Simple Enough to Practice Once
The best first trip begins with a practice pitch in the yard, garage, or nearby park. Set the tent up once without pressure, then take it down and pack it again. You will learn which pole goes where, whether the rainfly orientation matters, and how much space the tent actually needs.
Prioritize a design with color-coded pole ends, clear clips instead of complicated sleeves, and a manageable number of stakes and guylines. More attachment points can improve storm stability, but a beginner should still be able to identify the essential setup steps quickly.
Stake out every corner, even when the tent stands on its own. Stakes hold the floor shape, improve wind resistance, and help keep the rainfly positioned away from the tent body. Use guylines when wind or rain is expected. They may seem optional in calm weather, but properly tensioned guylines can prevent sagging fabric and improve ventilation.
Bring a footprint that matches or is slightly smaller than the tent floor. It protects the floor from abrasion and helps keep mud off during pack-up. Do not let a tarp extend beyond the tent edges, because it can collect rain and funnel water beneath the tent.
Features That Improve Real Campground Comfort
A few useful details have an outsized effect on first trips. Two doors prevent people from climbing over each other at night. Interior pockets keep headlamps, glasses, and phones from disappearing into sleeping bags. A gear loft can be helpful, though it is less important than durable zippers and reliable weather protection.
Look for doors that open wide enough to move a sleeping pad and duffel through easily. Check that zippers have protective flaps and can be operated from inside and outside. Small failures become annoying fast when you are tired, wet, or trying to settle children after dark.
A front awning or screened porch can be useful, but only if it matches how you camp. Families and pet owners may value a separate area for sandy shoes and daytime shade. Solo campers may prefer a simpler, lighter dome tent with one protected vestibule.
Do not overlook packed weight and dimensions. For car camping, a heavier tent is fine if it fits your vehicle and storage space. For walk-in sites, carrying a bulky 35-pound tent, cooler, sleeping system, and cooking gear becomes work quickly. Match the tent to the way you will actually travel, not an imagined expedition.
Build a Dry, Comfortable Sleep System Around It
A tent is only one part of a dependable camp setup. A sleeping pad insulates you from the ground as well as adding cushion, while a sleeping bag should match the coldest nighttime temperatures you expect. A lantern or headlamp, a basic camp stove, water storage, and a weather-ready chair can turn a bare campsite into a comfortable base camp.
At Adventure Cove Store, it makes sense to organize these items as one trip system rather than separate purchases. A spacious tent works better with pads that fit its floor. A covered vestibule becomes more useful when you have lighting for late-night gear sorting. Preparation is less about owning every accessory and more about choosing equipment that works together.
Avoid the Common First-Tent Mistakes
The lowest-priced tent can be a smart choice for an occasional fair-weather night, but very thin floors, weak stakes, limited ventilation, and undersized rainflies often show their limits quickly. A modest step up in materials and layout usually pays off in easier use and more successful weekends.
Avoid relying on photos alone. Read the specifications for capacity, floor size, peak height, packed dimensions, rainfly coverage, and included stakes or footprint. If you camp in hot, humid regions, prioritize mesh and airflow. If you expect cool shoulder-season nights or frequent rain, prioritize a full fly, secure guyout points, and a well-protected entry.
Your first tent does not need to handle every climate, trail, or future vacation. Buy for the next several trips you are likely to take, practice setting it up before departure, and choose a campsite with care. That approach gives you the best chance of waking up dry, rested, and ready to plan the next night outside.
Beginner-friendly tents in our range
If you want a starting point, the 2-3 Person Pop Up Tent opens almost instantly and takes the setup guesswork out of a first trip. For lighter weight and tougher weather, the Naturehike Cloud Peak 2 Person Tent is the step up. Both ship free within the US.
Shop this guide


Compare all 11 tents and shelters →
Free shipping on all orders within the United States.