
How to Choose a Camping Tent for Your Trip
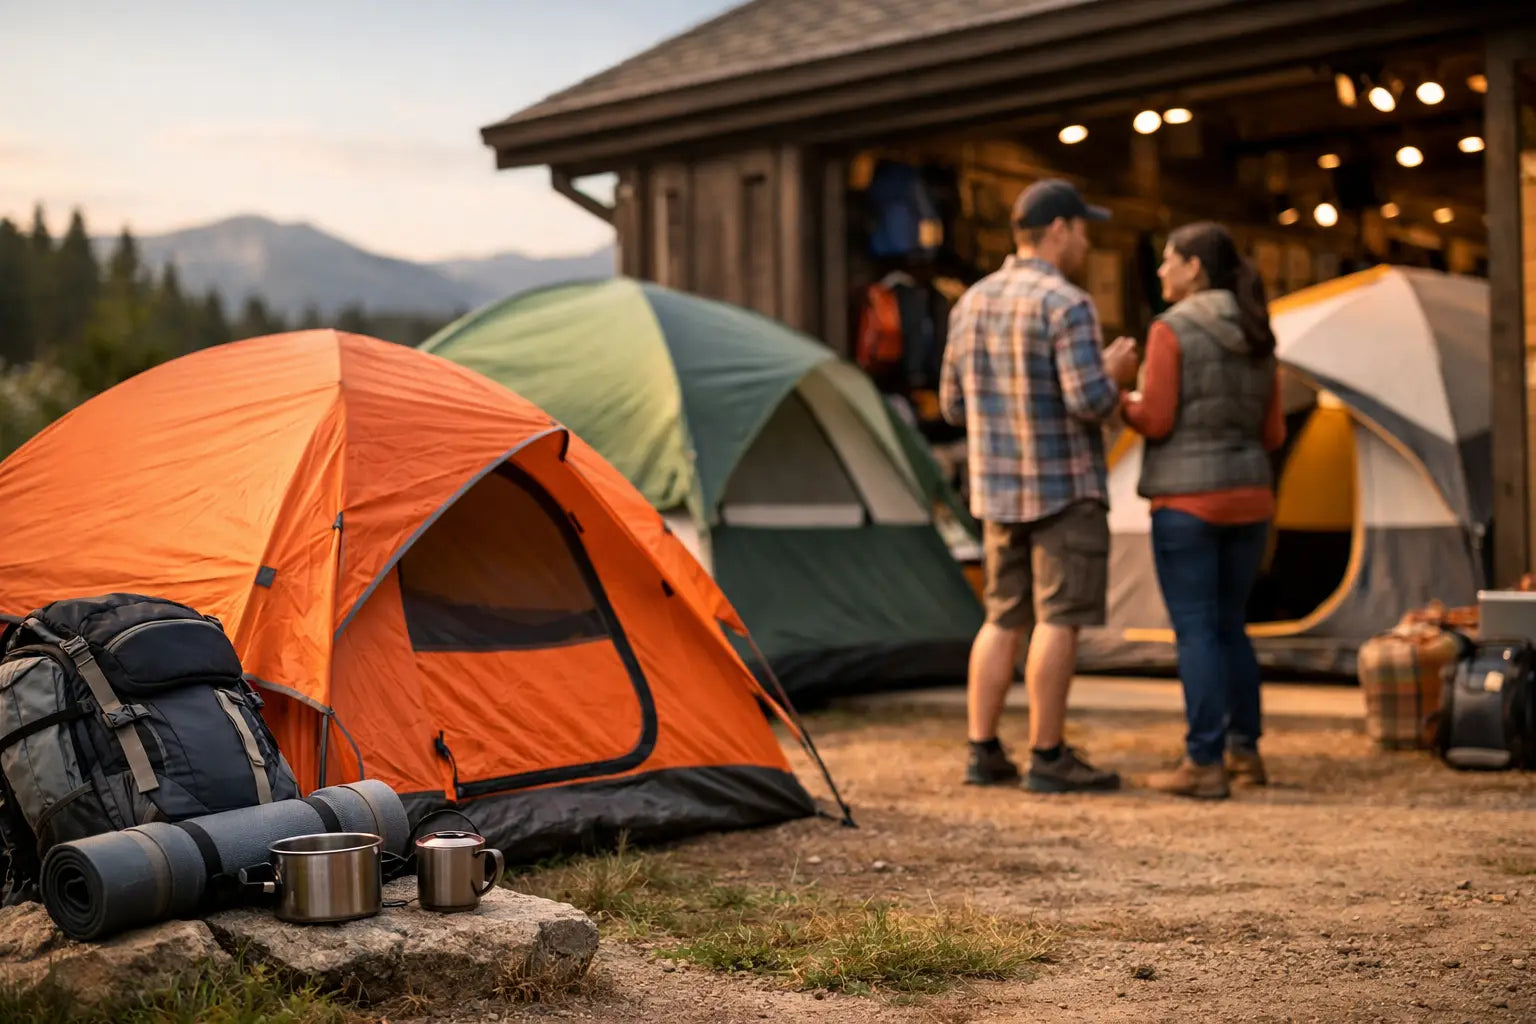
A tent that looks roomy in a product photo can feel very different after two adults, a wet dog, sleeping bags, and a duffel bag are inside. Knowing how to choose a camping tent starts with the trip you are planning, not the biggest capacity number or the lowest price. A weekend at a developed campground, a rainy family trip, and a hike-in overnight each call for a different balance of space, protection, and portability.
The right tent gives you a dry, workable place to sleep and stash essential gear. The wrong one can add setup frustration, cramped mornings, and long nights listening for leaks. Start with your usual camping style, then narrow down the features that will make camp more comfortable.
Choose a Tent Size With Real Space in Mind
Tent capacity describes how many sleeping pads can fit side by side. It does not always account for bags, coolers, pets, or the ability to move around without stepping on someone. For most car campers, choosing one size larger than the number of people sleeping in the tent is a practical move.
A two-person tent works well for one camper who wants room for gear, or two people traveling light. A four-person tent is often a better fit for two adults with a dog or young child. Families may prefer a six- or eight-person model, especially when weather could keep everyone inside for an afternoon.
Check the floor dimensions, not just the capacity label. Long campers should look for enough length to avoid pressing against tent walls, where condensation can dampen a sleeping bag. Also consider peak height. A low-profile backpacking tent saves weight, while a cabin-style tent makes changing clothes, organizing supplies, and getting children ready much easier.
Match the Tent to Your Camping Style
The best way to choose a camping tent is to decide how it will get from your vehicle to your campsite. Weight, packed size, and setup speed matter very differently depending on that answer.
Car Camping and Family Campgrounds
When you can park close to camp, comfort usually deserves priority. Larger dome tents, cabin tents, and instant tents offer more headroom and usable floor space. Features such as room dividers, multiple doors, storage pockets, and large vestibules help keep a busy campsite organized.
An instant tent can be especially useful for occasional campers and families. It reduces the time spent sorting poles and figuring out instructions after a long drive. The trade-off is that instant models can be bulkier and heavier than conventional tents, so they are best for vehicle-supported trips.
Backpacking and Hike-In Sites
For backpacking, every pound has a cost. Look at packed weight, packed length, and whether the load can be divided between hikers. A tent may list both trail weight and packed weight. Trail weight generally includes the tent body, rainfly, and poles, while packed weight may include stakes, repair items, and storage sacks.
A lightweight tent is not automatically the best choice. Ultralight materials can require more careful handling, and small interiors may feel restrictive on a multi-night trip. Choose a shelter you can carry comfortably without giving up the weather protection your route requires.
Festivals, Beaches, and Fair-Weather Overnights
For short, warm-weather trips, ventilation and easy setup can matter more than four-season protection. A basic three-season tent with mesh panels can provide a comfortable sleeping space, but it still needs a full rainfly if there is any chance of storms. Beach campers should bring sturdy stakes designed for loose ground or use sand anchors, since standard stakes can pull free.
Understand Season Ratings and Weather Protection
Most campers need a three-season tent. These tents are made for spring, summer, and fall conditions, with a balance of mesh ventilation and rain protection. They can handle routine rain and moderate wind when properly staked and guyed out.
Four-season tents are designed for harsher conditions, including snow loading, stronger winds, and cold-weather use. They use sturdier pole structures and less mesh to retain warmth. That extra protection also means more weight and less airflow during a humid summer night. Unless you camp in exposed winter conditions, a four-season tent may be more than you need.
Weather protection comes from the complete shelter system, not a single waterproof claim. Look for a full-coverage rainfly, sealed or taped seams, a bathtub-style floor that rises several inches up the walls, and secure attachment points for guylines. A rainfly that stops high above the ground may provide good airflow, but it can leave doors and sidewalls vulnerable during wind-driven rain.
The tent's waterproof rating, often shown in millimeters, can help compare materials. Higher ratings generally indicate greater resistance to water pressure, but construction still matters. A well-pitched tent with sealed seams and a properly tensioned fly performs better than a higher-rated tent with loose fabric and poor site selection.
Pay Attention to Doors, Vestibules, and Ventilation
Small design details have a big effect once camp is set. Two doors are valuable for couples because neither person has to climb over the other for an early restroom trip. For family tents, a wide front door can make loading bedding and getting kids inside much easier.
Vestibules are covered spaces outside the sleeping area. They are useful for muddy shoes, a backpack, fishing gear, or a camp chair that needs to stay dry overnight. Keep cooking equipment outside the tent, and never use fuel-burning stoves or heaters inside a tent or vestibule because of fire and carbon monoxide hazards.
Ventilation helps control condensation, which forms when warm, humid air inside the tent meets cooler fabric. Mesh ceilings, roof vents, and doors that can be partially opened under the rainfly all improve airflow. In humid conditions, condensation is normal. Good ventilation reduces it, but it cannot eliminate it completely when the air is saturated.
Check Setup Before You Leave Home
A complicated tent can turn a simple overnight into a frustrating start. Review the pole design, clip system, and rainfly attachment method before buying. Color-coded poles and clips make setup faster, while freestanding tents are easier to reposition before staking down.
Even freestanding tents need stakes. Stake out the corners, then secure vestibules and guylines to improve wind resistance and create usable interior space. Practice setting up the tent in your yard before the trip. You will learn how the pieces fit, confirm that nothing is missing, and spot any factory issues while you still have time to address them.
Bring a footprint that matches the tent floor or is slightly smaller. A footprint protects the floor from abrasion and moisture, but one that extends beyond the tent can collect rainwater and channel it underneath. Avoid placing a tarp inside the tent as a substitute, since it can trap moisture under sleeping pads.
Consider Materials, Durability, and Your Budget
Tent fabrics, poles, and zippers determine how a shelter holds up over time. Aluminum poles generally offer a better strength-to-weight ratio and more reliable performance than fiberglass poles, though fiberglass can be a reasonable choice for affordable campground tents. Reinforced stress points, quality zippers, and durable floor fabric are worth checking if you camp often or bring children and pets.
More expensive does not always mean better for your needs. An entry-level tent can be a smart purchase for a few dry-weather weekends each year. If you expect repeated use in rain, wind, or remote locations, spending more on dependable materials, better seam construction, and a more stable pole design can prevent a premature replacement.
Set aside room in the budget for the gear that makes the tent work well: sleeping pads for insulation and comfort, appropriate sleeping bags, a lantern, stakes, a footprint, and a repair kit. At Adventure Cove Store, building out these essentials alongside your shelter can help you prepare for the campsite instead of buying one item at a time when you are already on the road.
Pick a Campsite That Helps Your Tent Perform
Even a well-designed tent needs a smart campsite. Choose level ground that is clear of sharp rocks, roots, and standing water. Do not pitch in a low spot where rain can collect overnight, and avoid setting up directly under dead branches or unstable trees.
Face the lowest-profile side of the tent toward prevailing wind when possible. Use all recommended stakes and guylines if storms are expected. Before bed, close the rainfly, secure loose items outside, and keep a clear path to the door. A tent is only one part of a comfortable camp setup, but choosing one that fits your people, conditions, and travel style gives every trip a stronger starting point.
Shop this guide


Compare all 13 sleeping bags & camp beds →
Free shipping on all orders within the United States.