
Cold Weather Camping Guide for Safer Nights
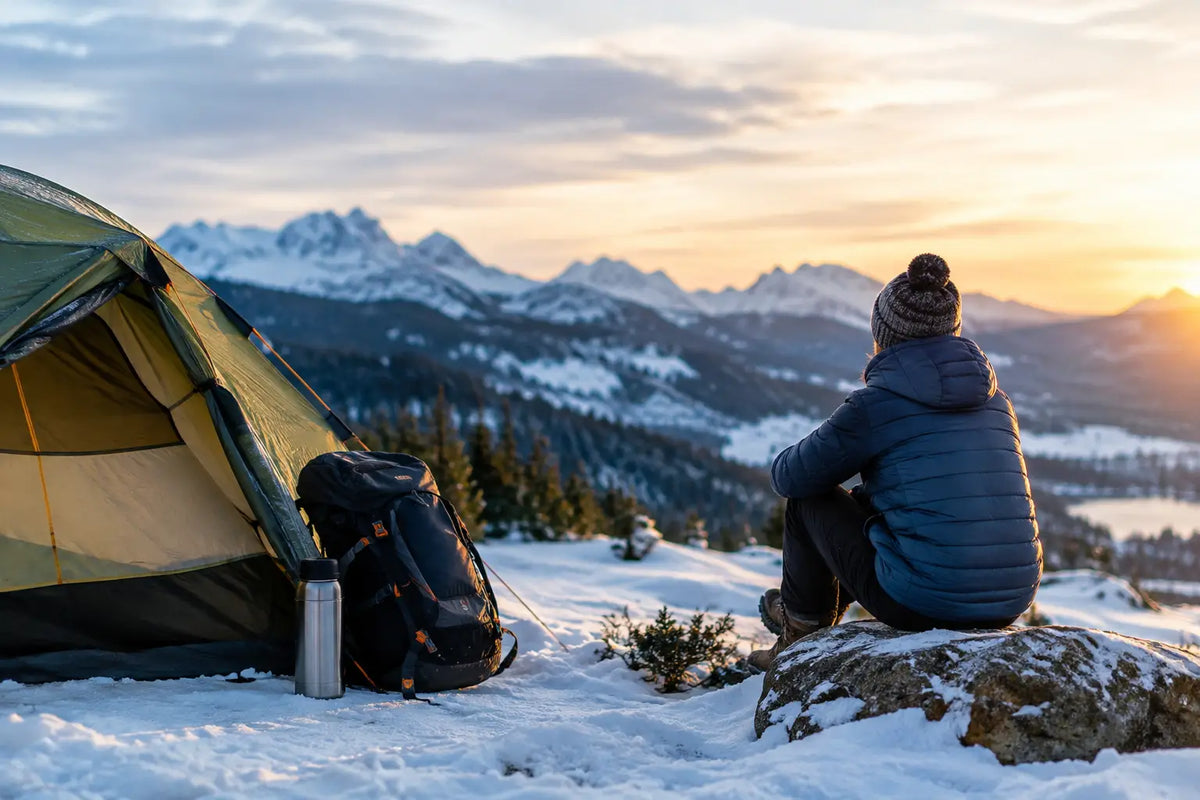
A cold campsite can turn a well-planned weekend into a long, uncomfortable night fast. The difference usually is not toughness. It is the right combination of shelter, insulation, dry layers, hot food, and a plan for changing conditions. Use this cold weather camping guide to build a setup that keeps you comfortable without packing gear you do not need.
Cold-weather camping rewards preparation, but it does not require an expedition-level kit for every trip. A calm night at 35 degrees Fahrenheit calls for a different approach than wind, rain, and single-digit temperatures. Check the forecast for the campsite elevation, not just the nearest town, and plan around the coldest overnight low, expected wind, and precipitation.
Start With a Shelter That Handles Weather
Your tent is a weather barrier, not a heater. Its job is to block wind, shed rain or snow, and create a manageable space for your sleep system. For most three-season cold-weather trips, use a tent with a full-coverage rainfly, a durable floor, and enough stake-out points to stay secure in wind.
A four-season tent is useful when you expect heavy snow loading, exposed alpine conditions, or persistent high winds. It can be less comfortable on mild nights because reduced mesh limits airflow. For a standard fall or early-spring campground trip, a quality three-season tent with a well-fitted rainfly is often the more practical choice.
Set up on ground that drains well and is protected from prevailing wind. Avoid low pockets where cold air settles, dry creek beds, and sites beneath dead branches. If snow is on the ground, pack down a level tent platform before pitching. Soft, uneven snow can shift overnight and reduce the effectiveness of your sleeping pad.
Keep ventilation open at the top of the tent, even when it feels counterintuitive. Your breath releases moisture all night. Without airflow, condensation collects on the rainfly and can drip onto bedding by morning. Close vents only when blowing rain or snow makes it necessary.
Build Your Sleep System From the Ground Up
The sleeping bag gets most of the attention, but the pad below you matters just as much. Cold ground pulls heat from your body continuously. A warm bag placed on a thin summer pad can still leave you shivering.
Choose a sleeping pad with an R-value appropriate for the conditions. For cool shoulder-season camping, an R-value around 3 to 4 can work well. For freezing temperatures, look for a higher R-value, often 5 or more. Some campers combine a closed-cell foam pad with an insulated inflatable pad. That pairing adds insulation, creates backup if the inflatable pad fails, and is useful on snow or frozen ground.
Sleeping bag temperature ratings require some interpretation. A bag rated to 20 degrees does not guarantee every camper will sleep comfortably at 20 degrees. Metabolism, fatigue, food intake, wind exposure, pad insulation, and clothing all affect warmth. If you sleep cold or expect damp conditions, select a bag with a comfort range lower than the forecast low.
Down bags offer excellent warmth for their packed size, but they lose performance when wet. Synthetic insulation is bulkier, yet it retains more warmth in damp conditions and can be a smart choice for wet climates or newer campers still refining their packing system. Store either type of bag in a waterproof stuff sack during travel.
Wear dry base layers and clean socks to bed. Add a warm hat, since your head may be outside the bag opening, and use a lightweight fleece or insulated jacket if needed. Do not climb into your bag wearing damp hiking clothes. That moisture will cool quickly and make the bag work harder.
A filled water bottle can provide extra warmth if it is designed for hot liquids and sealed correctly. Wrap it in a sock or spare layer, then place it near your feet before bed. Never use a fuel canister, hand warmer not rated for enclosed use, or any flame inside a sleeping bag.
Keep Moisture From Taking Over
In cold weather, staying dry is a safety practice. Rain, snow, sweat, and tent condensation can all reduce insulation performance. The goal is not to avoid every drop of moisture. It is to protect the layers that keep you warm.
Dress in adjustable layers: a moisture-wicking base layer, an insulating middle layer, and a windproof or waterproof outer shell. Start hikes or camp chores slightly cool. If you begin heavily bundled and sweat right away, that dampness can chill you as soon as you stop moving.
Keep a separate set of sleep clothes in a dry bag. Protect spare socks, gloves, and base layers the same way. At camp, change out of wet footwear when possible and loosen boot laces so they are easier to put on if they stiffen overnight. Place boots under the tent vestibule or in a protected bag, not exposed to rain or snow.
Do not dry wet clothing with an open flame or run a stove inside the tent. Both create serious fire and carbon monoxide hazards. Hang damp items in moving air during the day, use body heat for small items only when practical, and bring enough dry backups for the trip length.
Eat, Drink, and Cook for the Temperature
Your body produces heat by burning fuel, so regular meals matter more when temperatures fall. Build dinners around easy, calorie-dense foods that you will actually eat after a long day: pasta, rice meals, oats, soup, nut butter, cheese, dried fruit, and trail mix are reliable options. A warm meal and hot drink before bed can improve comfort, especially after an active day.
Hydration is easy to neglect in cold weather because you may not feel as thirsty. Dehydration can contribute to fatigue and make it harder to stay warm. Insulate water bottles, keep one close to you during the day, and carry a backup method to melt snow or treat liquid water when appropriate.
Fuel performance changes in the cold. Canister stoves can struggle as temperatures drop, particularly with nearly empty canisters. For colder trips, bring extra fuel, keep canisters off frozen ground, and understand the limits of your stove system before leaving home. Whatever stove you use, operate it outdoors in a clear, stable cooking area away from tent fabric and dry vegetation.
Use Heat Safely at Camp
A campfire can lift spirits and warm hands, but it is not a replacement for a capable sleep system. Firewood may be wet, restrictions may be in place, and heat disappears the moment you return to the tent. Check local fire rules before traveling and keep firewood local to help prevent the spread of invasive pests.
Never use charcoal grills, camp stoves, propane heaters not specifically designed for tents, or vehicle exhaust for warmth in an enclosed tent, camper, or vehicle. Carbon monoxide has no smell and can become dangerous before you recognize symptoms. If you use an approved portable heater in a ventilated shelter, follow its instructions exactly and use a working carbon monoxide detector where recommended.
Reliable lighting matters when sunset comes early. Pack a headlamp for hands-free setup, cooking, and nighttime bathroom trips, plus spare batteries stored where they will stay dry. Battery output can drop in cold conditions, so keep smaller electronics and power banks inside an inner pocket or sleeping bag when practical.
Plan for Wind, Emergencies, and an Easy Exit
Cold weather adds consequences to simple mistakes. Tell someone where you are camping, when you expect to return, and what vehicle you are driving. Download offline maps before service disappears, carry a charged phone and backup power, and know the nearest road or ranger contact point.
Your vehicle deserves attention, too. Bring a cold-weather emergency kit with a blanket, scraper, traction aid, jumper cables or jump starter, food, water, and a flashlight. Keep the fuel tank well above empty when traveling in remote areas. If a storm worsens beyond your gear and experience level, leaving early is good judgment, not a failed trip.
Watch for warning signs of hypothermia: uncontrolled shivering, confusion, poor coordination, slurred speech, or unusual exhaustion. Get the person out of wind and wet clothing, add dry insulation, provide warm nonalcoholic drinks if they are alert, and seek medical help when symptoms are serious or do not improve.
Pack for Comfort, Not Just Survival
A few useful extras can make cold camping far more manageable: an insulated camp chair pad, waterproof gloves, a thermos, a repair kit for pads and tents, and a weatherproof storage bin for food and dry gear. Organize equipment by use so that headlamps, gloves, and rain layers are available before the temperature drops.
Adventure Cove Store makes it easier to prepare across the full setup, from tents and sleeping systems to camp lighting, stoves, tools, and outdoor furniture. Choose gear around the conditions you will actually face, then test key items close to home before relying on them at a remote site.
The best cold-weather camp mornings start the night before: dry layers set aside, water protected from freezing, breakfast within reach, and a warm sleep system already doing its job.